
Capturing the Aurora in Greenland
Published: 12/06/2020
Reading time: 6 minutes
For many people visiting the Arctic and experiencing the northern lights for the first time, it quickly becomes an ambition to also capture this natural phenomenon in photos. However, many people struggle with this, as photographing aurora goes a bit beyond the point and shoot method. Capturing photos of aurora is thankfully not complicated once a few tips have been learned. All my photos of aurora are single photos, meaning they are captured by a single exposure, and no stacking have taken place. The tips given here are based on photographing aurora by single exposure. Capturing truly great photos of aurora can be challenging, as the scene tends to be different from time to time, and even when you’re out, it changes in shape and intensity before your eyes.

When?
When is the best time of the year to photograph aurora? Aurora is present all year round, however, it obviously needs to be dark for you and the camera to be able to see it. Therefore the summer in the Arctic is not suited for photographing aurora, as there is sunlight throughout the night. As soon as it starts to become dark at night, it will be possible to shoot aurora. This is typically in the time period from September to March. There is no particular time of day better than others as long as it’s dark outside. I have personally experienced some of the most beautiful aurora early in the evening before 10 pm, whereas others have reported the middle of the night as the best time. The truth is that aurora is incredible varying, and you simple have to go outside and have a look. Be patient though, as it can suddenly fire up even as it seems subtle. Today there are many apps to help predict aurora, and you can also visit spaceweatherlive.com to help predict aurora activity. If possible try to avoid days around full moon, as the moon acts like a big light pollution device in the sky.

Gear
When photographing aurora it is important to use a camera with the option of manual settings. This can typically be an DSLR or a mirrorless camera, even many compact cameras have this option now. Full-frame cameras are excellent for this type of photography. However, I personally shoot with an APS-C censor, and these work fine as well, you just can’t crank up the ISO as much as on a full-frame without introducing to much noise. Be careful using a camera with a very small censor, as these usually don’t handle high ISO values very well. The point is, that you need to control the three parts of the exposure triangle: aperture, ISO and shutter speed.
The lens you choose should as a minimum be able to open the aperture to 2.8, although I have on occasion shot with aperture 3.5. I prefer a focal length which is very wide, usually 16 mm. A wide angle lens enables you to capture a larger portion of the night sky, and also allows for a slower shutter speed without the appearance of star trail. You will also need a tripod, as capturing a steady shot of aurora requires the camera to stay completely still for several seconds.

Settings
There is no perfect settings for photographing aurora, as the conditions in which you shoot can be very different from time to time. However, there is a fair starting point of settings you can apply. I usually start of with f/2.8, ISO 800 and a shutter speed of 10 seconds. Depending on the level of aurora and the amount of light pollution, I typically end up with an ISO anywhere between 400-1600. It can be tempting to open up your aperture even more than f/2.8, if you lens is capable of it, but be careful as you will then sacrifice field of depth, meaning that it will be more difficult to keep everything sharp.
It terms of focus I set this to infinity, and remember that autofocus will not work at night, especially for aurora. If your lens cannot be set to infinity manually, you can focus it manually in the daytime on an object far away, and then use that focus later again at night. As mentioned, aurora can differ a lot in intensity and even color scheme, as a result you often need to experiment with the settings to get the best result, and a result to your liking.

A few final thoughts
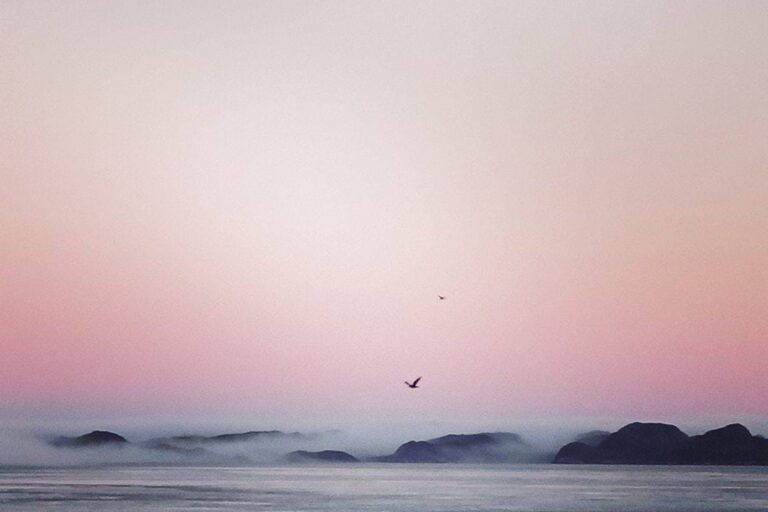
Once you have mastered capturing photos of aurora, it also becomes a challenge to create pictures with good composition. Try and make sure, that your photo also includes other elements and/or landscape that will create depth in your picture. Preferably the elements in your photo should tell a story, just as is usually recommended in other types of photography as well. Take lots of photos! The aurora will change constantly while you’re shooting, and you can evaluate later on which ones turned out the best. As the temperatures during an aurora shoot are typically very cold, it can be a good idea to do your initial camera settings at home, so that you’re ready to shoot once you’re outside. Also, know your camera, so that you can easily and comfortably make changes to the settings once you’re outside in the dark. Finally, I would suggest that you shoot in RAW rather than jpeg if possible, as the RAW files will keep a lot more data, that you can then turn into a more satisfying picture, than the jpeg straight out of the camera.
Check list:
- Camera with manual mode
- Lens with large aperture
- Tripod
- Flashlight or headlamp
- Warm clothes
This is what you need to get going. Remember to also enjoy the aurora while you’re outside, and keep in mind that the camera censor is more light sensitive than your eyes, and will capture it more extensively than you yourself observe.
I practice nature and wildlife photography as well, and you can find many more pictures on my website.

Read more travel blogs from Per Bossen
More travel blogs

Popular tours
-
Micro Cruise & flight to Greenland!

East Greenland Explorer Micro Cruise | Scoresby Sund
Tour startsFrom IcelandDuration10 days -

Afternoon Kayak among Icebergs | Ilulissat | Disko Bay
Tour startsIlulissatDuration3 hours -

Ghost Village Boat Cruise | Sisimiut | West Greenland
Tour startsSisimiutDuration3 hours -

Helicopter Summit Flight | Nuuk
Tour startsNuukDuration1 hour -

UTV Glacier Expedition | Ilulissat – Ilimanaq | Disko Bay
Tour startsIlulissatDuration8 hours -

Photo tour | Nuuk
Tour startsNuukDuration2 hours -
1 To 6 Passengers Included

The Calving Glacier Eqi & Paakitsoq | Ilulissat | Disko Bay
Tour startsIlulissatDuration8 hours -

Guided Buggy Tour from Qassiarsuk | South Greenland
Tour startsQassiarsukDuration3.5 hours -
New Tour!
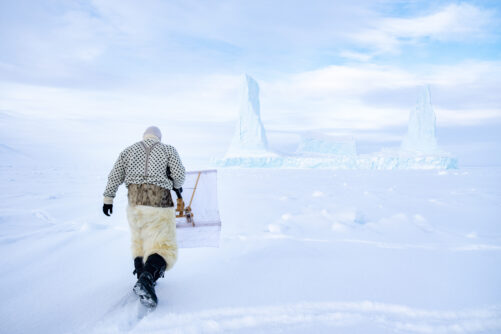
8 Days on the Hunters’ Track – Dog Sledding, Glaciers & Inuit Culture | East Greenland
Tour startsKulusukDuration8 days -
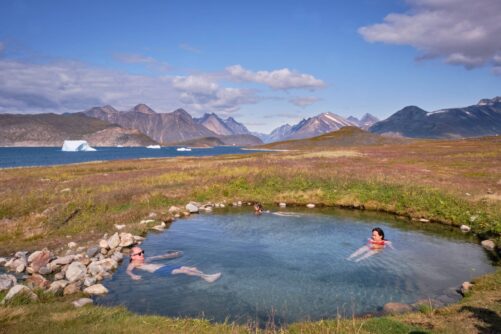
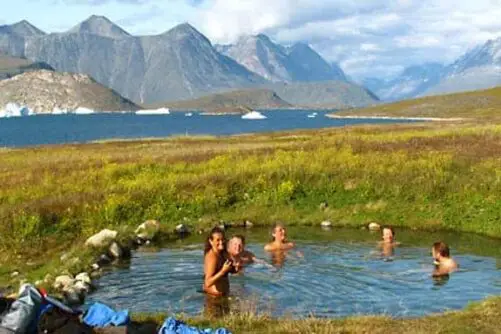
Boat tour to Uunartoq Hot Springs | Qaqortoq | South Greenland
Tour startsQaqortoqDuration4.5 hours -
Authentic experience!
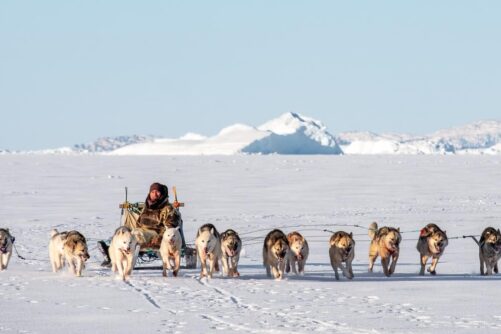
Expedition on Dogsled | 2 Days | Ilulissat
Tour startsIlulissatDuration2 days -

Snowshoe Winter Hike | Sisimiut
Tour startsSisimiutDuration3 hours -
Flights included

Nature Adventure | South Greenland
Tour startsFrom IcelandDuration8 days

Other interesting travel blogs