
Photographing wildlife in Greenland
Jump to chapter
Published: 12/06/2020
Reading time: 8 minutes
Observing wildlife that either live their lives or periodically visits the harsh arctic environment is among one of the incredible experiences to have in Greenland. Few places on earth have such a wild and harsh yet beautiful and epic natural environment, and this inspires many, my self included, to attempt to capture a glimpse of its scenery.
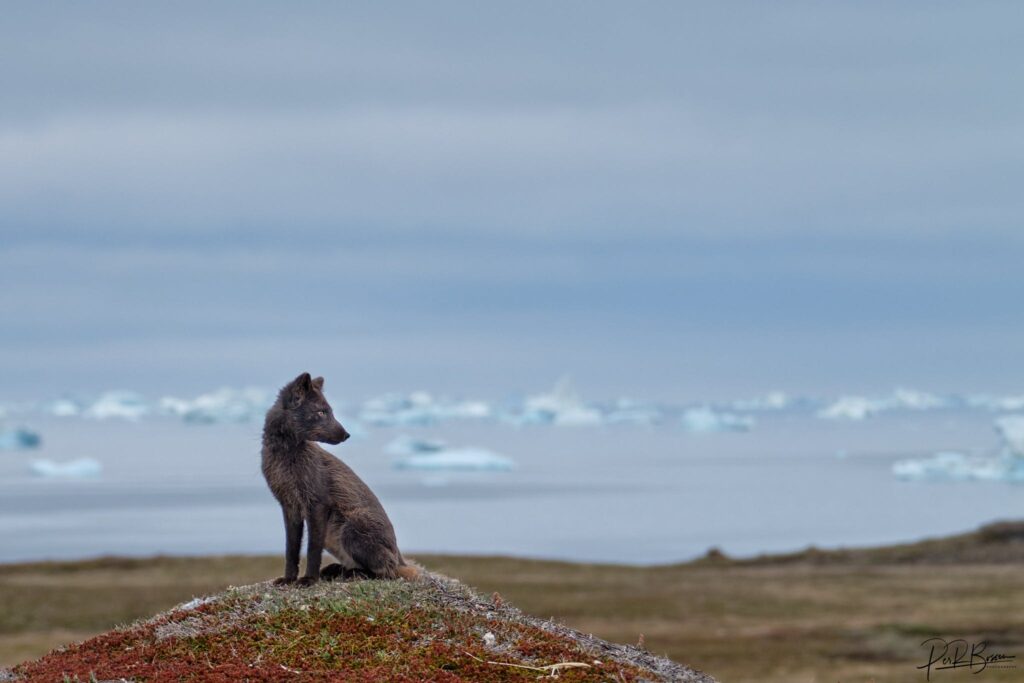
The country is large and wildlife can be scarce, which means you don’t want to miss an opportunity once it presents itself. Observing wildlife is one of the great experiences to have in nature and photographing it can add to this and provide an extra layer to the memories that you can enjoy for years to come.
To make sure you optimize your chances of capturing the photos you dream of, preparation is key. To help you with this I have put together a short introduction with basic information and tips to wildlife photography.
Gear
In principal any camera will do, and the best camera is the one that you have on you. However, for best possible results and options regarding focal lengths, you should preferably use a DSLR or mirrorless camera with interchangeable lenses.
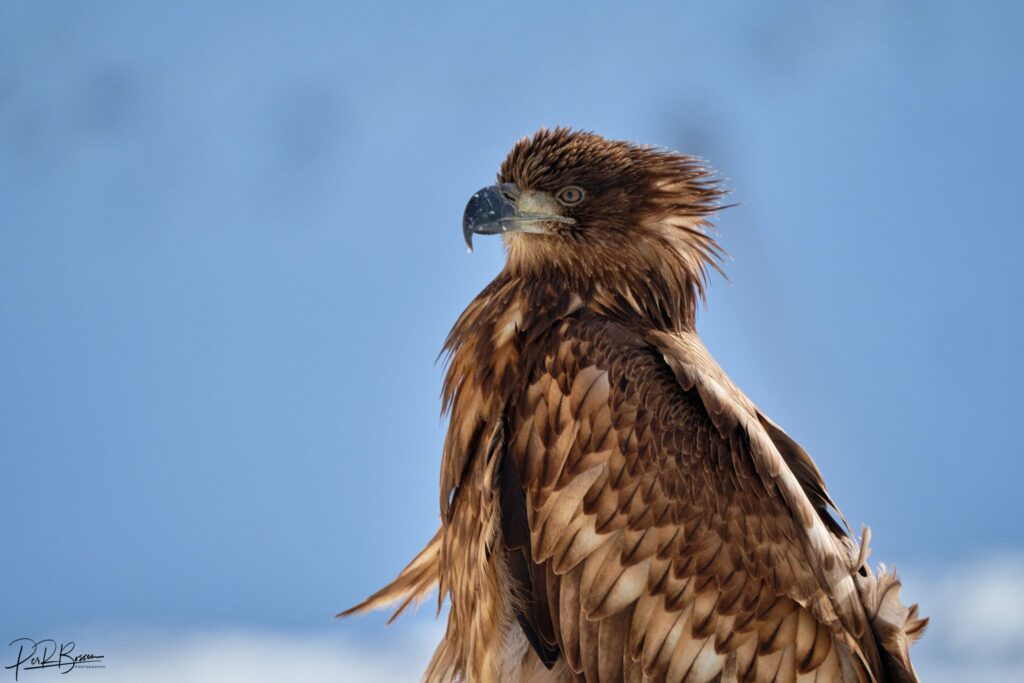
When it comes to choosing a lens, a tele-zoom or prime with large focal length of minimum 200 mm preferably 400 mm or more will work really well. I typically use a 100-400 mm with the option of adding a 1.4 teleconverter. I shoot on a 1.5 cropped APS-C sensor which means that the focal length is actually 150-600 mm in full-frame terms, so remember to take the crop factor into account if you are not shooting full frame.
Shorter focal lengths can be tricky to use for wildlife in Greenland, as the landscape tends to be very open, and distances to animals can be quite large.
Settings
I shoot in manual mode as often as possible, as I prefer to have control over all three elements of the exposure triangle (Aperture – Shutter speed – ISO). However, when shooting wildlife that might move unpredictably or if I’m are unsure of the best settings for a particular situation, there can be a great advantage in shooting in aperture priority mode. This way I get to choose the depth of field I want while letting the camera choose the shutter speed to achieve the best exposure.
The trick then becomes to choose an adequate ISO value to manipulate the cameras shutter speed. The higher the ISO, the faster the shutter speed the camera will choose. Therefore, if it is a fast-moving animal, I will have a higher ISO value, to make sure the camera manages to freeze the action.
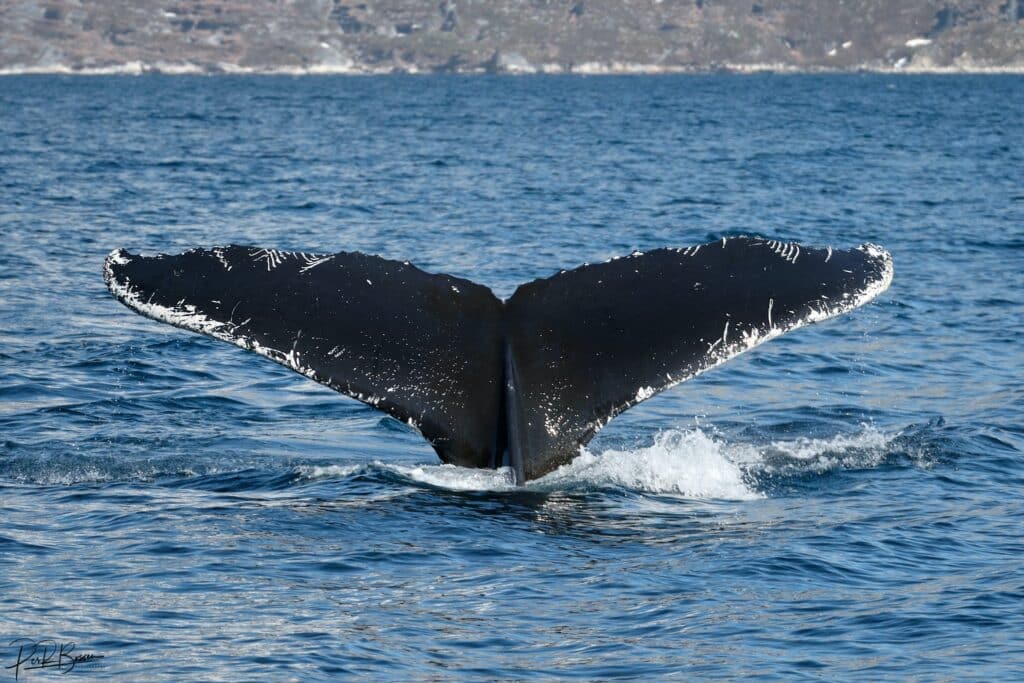
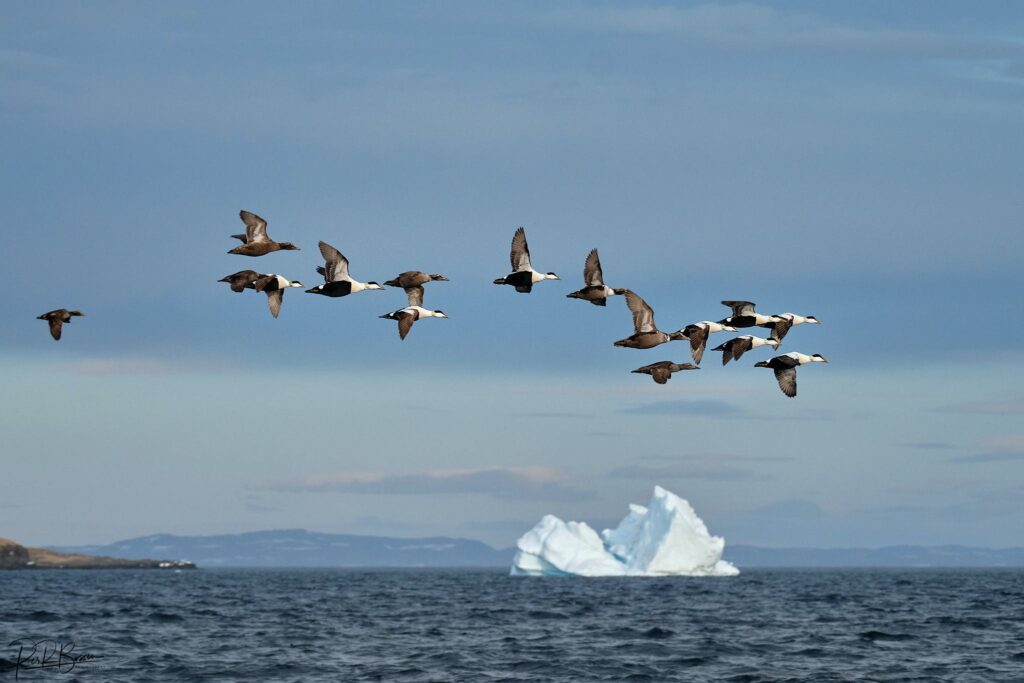
Most often I will stop down the aperture one or two stops for maximum sharpness, however, if there is not a lot of light, I will open up the aperture as much as possible. For fast-moving animals, this could be birds in flight, I aim for a shutter speed of 1/4000s and not slower than 1/2000s.
For slower or stationary animals, I usually aim for a shutter speed around 1/1000s. The reason for such fast shutter speeds is not only to freeze the action but also due to the reciprocal rule, to make sure I capture sharp images. The reciprocal rule states that your shutter speed should be a minimum of 1 / focal length (remember the crop factor when using a cropped sensor), to avoid camera shake, which can also cause blur in photos. This simply means that when shooting at a focal length of 400 mm your shutter speed should be a minimum of 1/400s. On a 1.5 cropped APS-C sensor this would be equivalent to a focal length of 600 mm and thus require a minimum shutter speed of 1/600s.
Some lenses and even some cameras have image stabilization build-in, which can change the “rules” a bit, and allow for slower shutter speeds if the animal isn’t moving very fast.
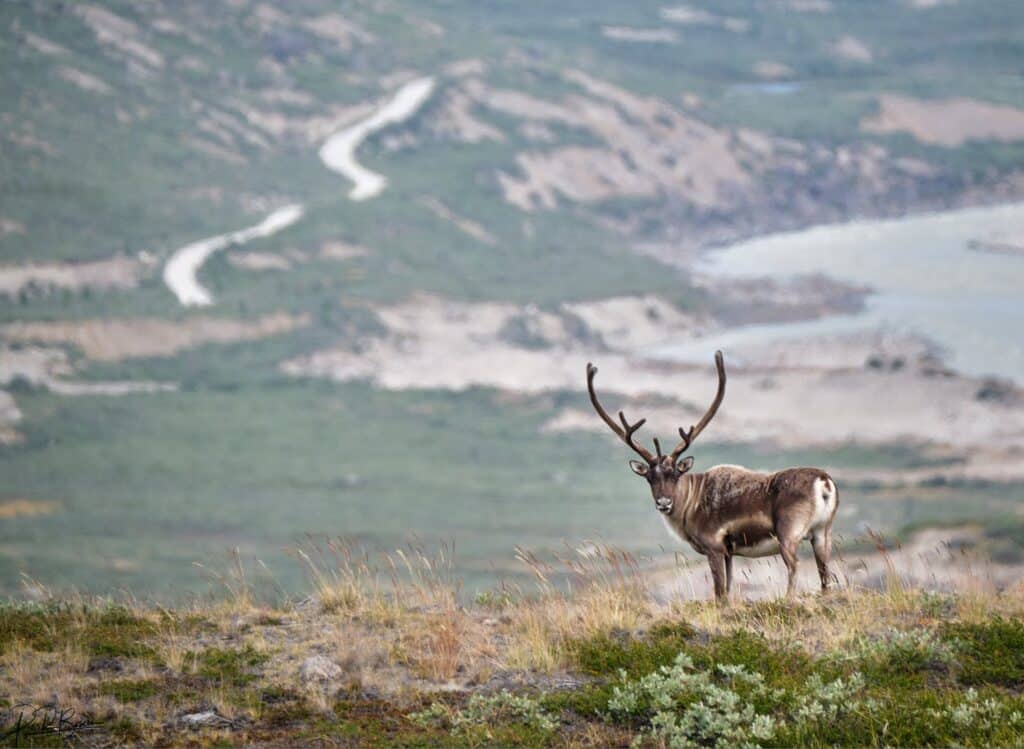
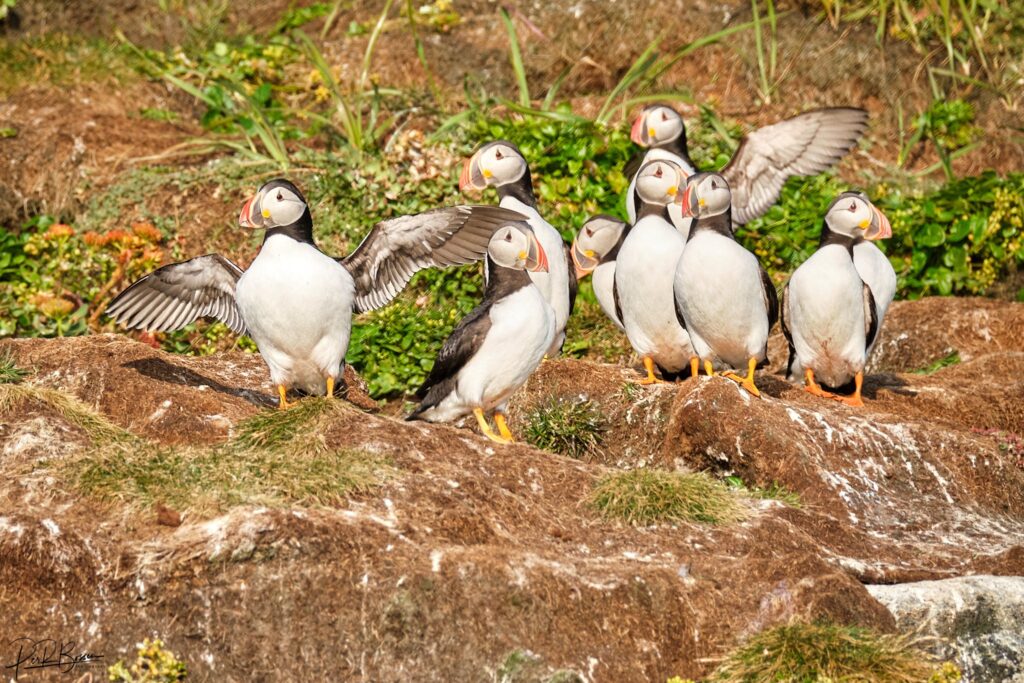
Photo Tips
Knowledge I: Know the species
Get to know the species that you intend on seeing and photographing. Knowledge about habitat and behavior can greatly improve your chances of observing the animals you want to photograph. In this regard local knowledge cannot be beaten, so talk to the locals. The locals who live here know about wildlife and their typical behaviors and whereabouts.
Always show respect for the wildlife you’re photographing and avoid unnecessary disturbance that could stress the animals you’re trying to capture photos of.
Knowledge II: Know your gear
You must have a high level of confidence in how to use your gear, so know your camera and its settings. Getting familiar with your camera is time well spent, it can even be recommended to actually read the camera’s manual, even though many don’t do this. This way you can comfortably make changes while in the field without the risk of missing shoots.
I would also recommend that you get to know your lenses, as these in my experience require your knowledge just as much as the camera itself. The familiarity with your camera gear enables you to know exactly where to make changes in the settings when a particular situation arises.
Light: Go out and stay out at the right time.
Photography is the art of painting with light, therefore light is king! This is why it is so beneficial to go out when the light is beautiful.
The best light tends to be early and late in the day, which luckily is also the time when most wildlife is active. This is of course not always possible, and you might find yourself going out to shoot during the day. In this case, try to avoid midday when the sun is highest in the sky and very harsh. This tends to be the most “boring” light and cast very unflattering shadows. Instead, go for sidelight or front light, even backlight can be interesting if you’re in to shooting silhouettes.
Patience
Rarely can you just go for a short walk and be lucky enough to encounter the wildlife you wish to photograph.
Patience is often necessary, and this can be both in regards to time spent outdoors and the number of times you go out. Once you’re out it is also recommendable that you wait for the good light and wait for the wildlife activity.
Weather sealed
When photographing wildlife in Greenland and in general, there can be a great advantage in having camera gear which is weather sealed.
I personally use a camera and lenses that are all-weather sealed and tested to be operational down to -10, although I have used them in -20 degree weather without experiencing problems.
This results in having confidence that your gear will not quit on you whilst shooting, and can also save you money, as your gear doesn’t break down in harsh environments.
Focal lengths
Try different focal lengths. When photographing wildlife with a large lens, it can be tempting to just shoot close-ups, if you are within that range of the animal. However, environmental shots which shows the animal within its environment can have a great effect on showcasing wildlife.
Usually, if the situation allows it, I will try to capture both close-ups and also wildlife environmental shots.
Perspective
Photos which are captured in “eye-height” with the animal tends to engage the viewer much more and provide a feeling of being within the animal’s environment. This most often requires you to get low, try to get into position to be in “eye-height” with the subject.
Animal behavior
The best wildlife photos tend to be those that show animals amid a natural activity. Photos with activity tend to tell more of a story or at least hint a story and through that become more interesting.
That being said I am definitely guilty of shooting my fair share of stationary animals as well, and this can have its own appeal, and it can be a great way of capturing really sharp photos or animal portraits.
Background
Don’t neglect the power of a beautiful background even if it is blurred out as a bokeh. Backgrounds can make a huge difference in wildlife photography, both in environmental shots and close-ups.
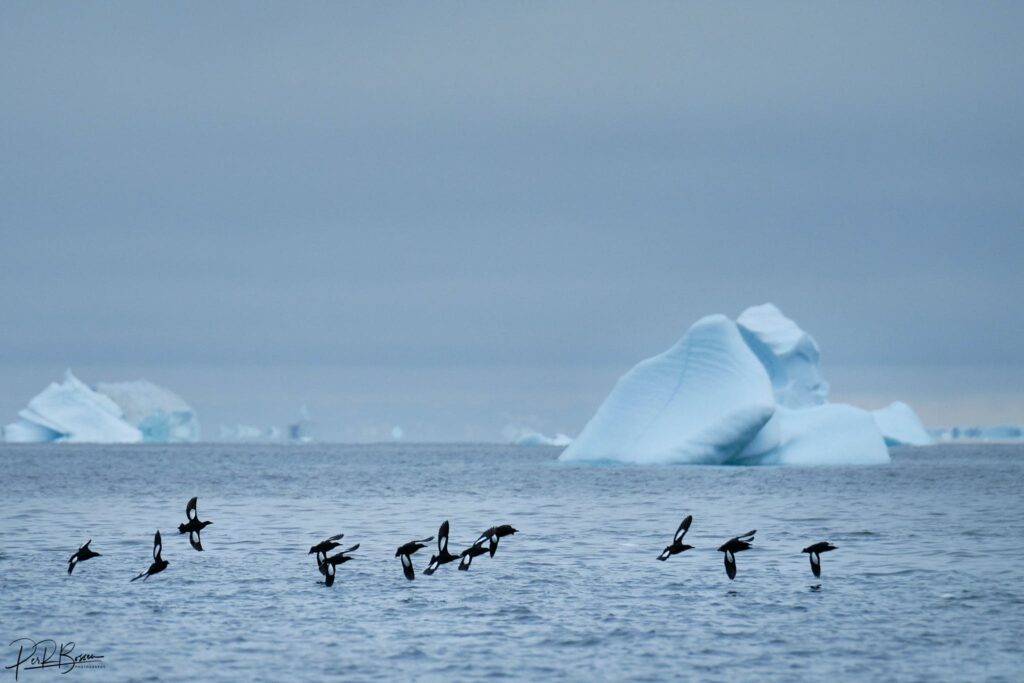
I would advise you to pay attention to the background when you position yourself and don’t be afraid of negative space, as this can work great in composition.
Enjoy the Arctic nature
Greenland is famous for its amazing arctic nature, and with good reason. Enjoy your time spend outdoors even when the temperature is telling you that you should stay in, days like that can be the most epic.
Don’t get too caught up with the ambition to shoot exotic megafauna like polar bears, as this can be an incredibly difficult task, even to just experience them in the wild is a very challenging project.
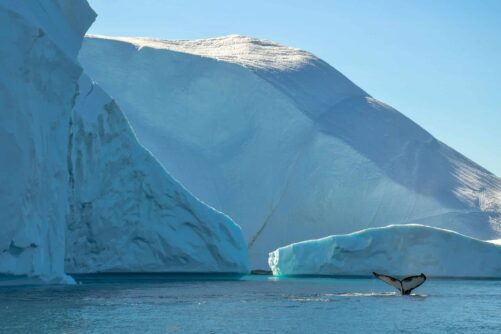
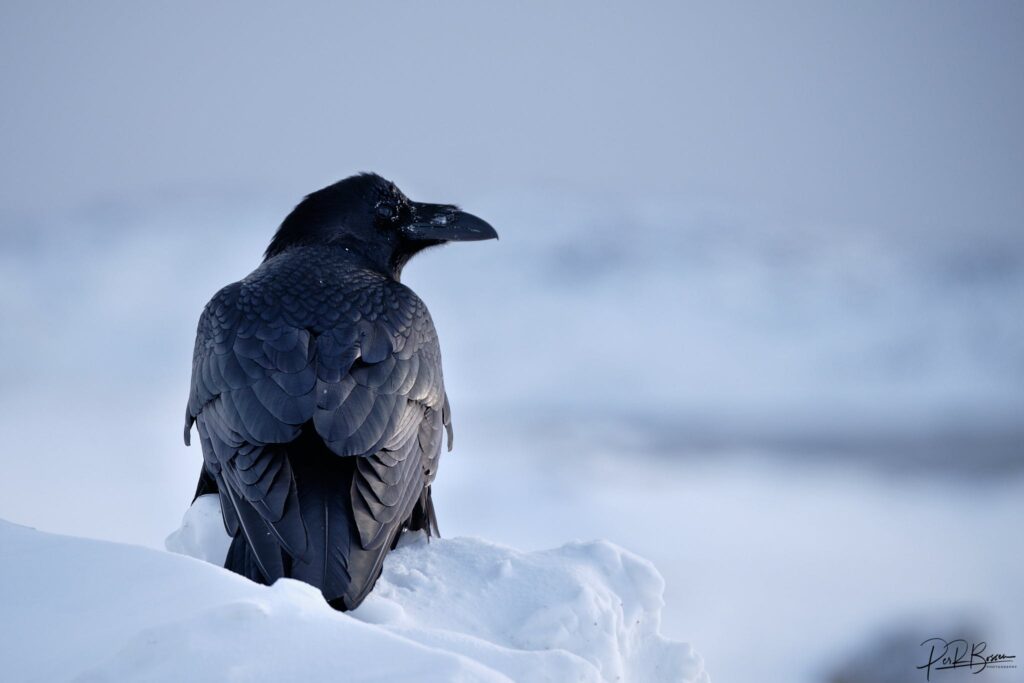
There are many other great photo subjects and stories to tell, and even photos of the common raven can be challenging to capture but offer great mood and atmosphere. So, look for opportunities with all kinds of animals, as photographing them in Greenland, is just about as beautiful a scenery as you can ask for.
The photographer’s website: perrbossen.com
Read more travel blogs from Per Bossen
-

Best of winter in Greenland | 5 Days in Sisimiut, West Greenland
Tour startsSisimiutDuration5 daysFrom 9300 DKKSee more -
4.80(5)for CRUISE SHIP guests!

Closed boat fjord safari | Nuuk
Tour startsNuukDuration2 hoursFrom 1350 DKKSee more -
5.00(1)1 to 6 people included!

The Abandoned Settlement of Kangeq & The Island Of Hope | Nuuk
Tour startsNuukDuration3 hoursFrom 6900 DKKSee more -
5.00(1)

Ice Fishing | Kangerlussuaq | West Greenland
Tour startsKangerlussuaqDuration3 hoursFrom 650 DKKSee more -
Includes 7 passengers!

Whale Safari | Private Charter | Qasigiannguit | Disko Bay
Tour startsQasigiannguitDuration3 hoursFrom 3800 DKKSee more -
4.50(2)

Sightseeing In Kangerlussuaq | West Greenland
Tour startsKangerlussuaqDuration2 hoursFrom 480 DKKSee more -
Private tour!

Private Halibut & Antlantic Wolffish Fishing | Sisimiut
Tour startsSisimiutDuration5 hoursFrom 6600 DKKSee more -
5.00(2)

Afternoon Whales & Ice | Ilulissat | Disko Bay
Tour startsIlulissatDuration2.5 hoursFrom 1700 DKKSee more -

Hammock tents adventure | Nuuk
Tour startsNuukDuration2 daysFrom 7500 DKKSee more -
1 to 6 PASSENGERS INCLUDED

Oqaatsut Settlement | Private Tour | Ilulissat | Disko Bay
Tour startsIlulissatDuration3 hoursFrom 5850 DKKSee more -

Follow an Inuit Hunter under the Midnight Sun | Qaanaaq
Tour startsQaanaaqDuration8 daysFrom 28000 DKKSee more -

Boat tour to Qarajaq Glacier | Uummannaq | North Greenland
Tour startsUummannaqDuration8 hoursFrom 4300 DKKSee more -
1 To 6 Passengers Included

Sea Fishing | Private tour | Ilulissat | Disko Bay
Tour startsIlulissatDuration4 hoursFrom 7700 DKKSee more -
Accommodation and tours included!

Arctic Capital to Wilderness Escape | 4 Days in Nuuk & 2 Nights at Camp Kangiusaq
Tour startsNuukDuration6 daysFrom 11995 DKKSee more -

Whale Safari | Uummannaq | North Greenland
Tour startsUummannaqDuration4 hoursFrom 2900 DKKSee more -
5.00(1)1 To 6 Passengers Included

Private Whale Safari | Ilulissat | Disko Bay
Tour startsIlulissatDuration4 hoursFrom 7400 DKKSee more -

3 Day Glacier Adventure | Kangerlussuaq
Tour startsKangerlussuaqDuration3 daysFrom 7995 DKKSee more -
Private Charter!

Helicopter Summit Flight | Nuuk
Tour startsNuukDuration1 hourFrom 22000 DKKSee more


